Builder gel has shifted the nail industry to another level, giving people unmatched durability and versatility that lasts for a long time. Both the durability of the nails and the solid base provided are perfect for nail art, making builder gel application a vital skill to master.
However, it doesn’t matter if you’re a professional nail technician or an amateur who loves DIY; being able to apply builder gel requires correct techniques, time, and effort.
From the right product selection process to the application tips and tricks, there are steps that can help you improve your builder gel application. Therefore, in this article, we will be guiding you on how to apply builder gel like a professional in 4 easy steps.
1. Choose the Right Builder Gel

Most builder gel available in the market today are tough in nature; however, the level of rigidity may vary from product to product. To achieve great results for your nail treatment, you need to carefully choose the right builder gel.
Builder gels are available in the market in different viscosities, colors, and types to suit the needs of each individual. Here’s how to choose the right one.
- Viscosity: First-time users should always go for medium-viscosity gel because it’s easy to apply to the nails. However, make sure that you remember that thicker viscose gels are suitable for the construction of structures and extensions, while less viscose gels are more appropriate for overcoating natural nails.
- Self-leveling: A self-leveling builder gel is the best type of gel formula that can give excellent results with little to no need for additional adjustments. This feature allows the gel to be applied and spread on the nail without the need for filing and scraping of the surface.
2. Start with Proper Nail Preparation
Builder gel polish application begins with preparing your nails. It’s essential not to skip or rush through this step as it leads to lifting, chipping or a short-lived manicure.
To ensure your nails are ready for the builder gel, follow these steps.
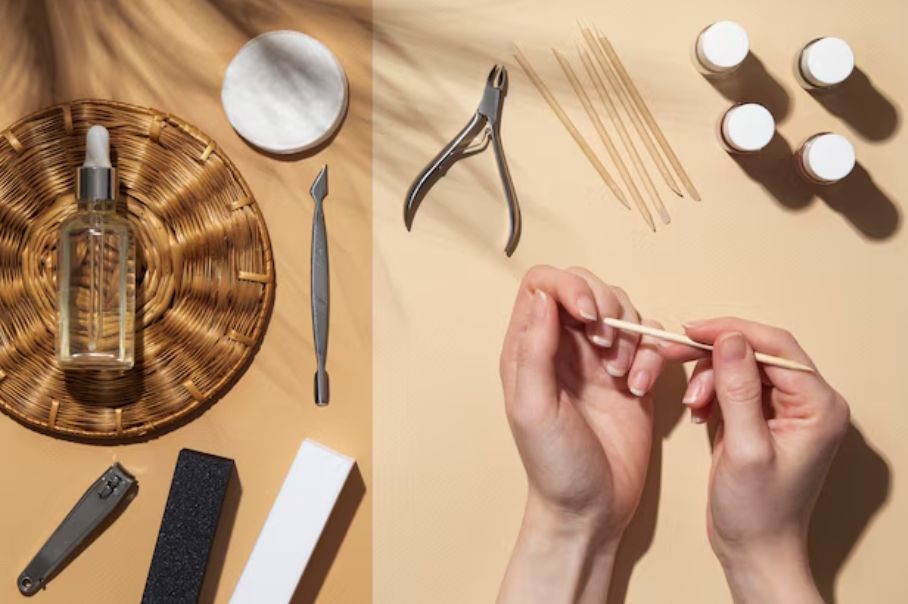
- Cleanse the Nails: First and foremost, ensure you take the time to wash your hands so that you clear oils, dirt, and debris on the nail surface.
- Push Back the Cuticles: Now, use the cuticle pusher and gently push back the cuticles. This step is essential because builder gel should not come into contact with the skin or cuticle area to avoid lifting.
- Shape and Buff: Trim the nails to the size that you prefer, shaping the surface of the nail with a buffing pad. Do not over-buff since this tends to compromise the strength of the natural nails.
- Remove Dust and Debris: Buffing can potentially leave an accumulation of dust behind, so wipe it clean with a nail brush or dip it in alcohol. It is also important to note that gel adheres better to clean nails.
- Color: Opaque builder gels can be outstanding as a ‘starting point,’ while pink, nude, or tinted gels are more suited as a natural base color. Although, you should choose depending on the general appearance you would like to achieve.
Mostly, it is recommended that you always try a few types of builder gel and identify the one that works best with your skill and preference for an excellent finish.
3. Use a High-Quality Base Coat
The base coat acts as an intermediary layer between the builder gel and the natural nail. When preparing the surface for the primer(gel), the base coat should cover the majority of the surface of the nail, which will minimize the chances of lifting or early chipping.
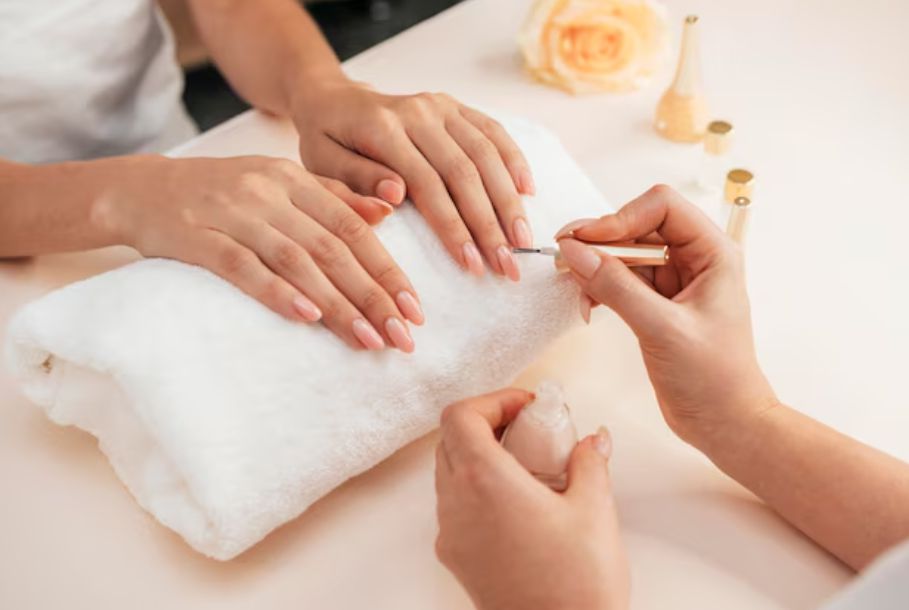
Begin by exfoliating the nails and cleaning them thoroughly. Then, using the brush, spread a thin layer of the base coat on the nails without letting the gel come in contact with the skin or cuticle.
Keep the base coat under a UV or LED lamp according to the manufacturer’s instructions before moving on to the builder gel.
For optimal outcomes, apply a base coat that is compatible with the builder gel of your choice. This helps create a smooth transition between the layers and increases the duration of the manicure.
4. Apply Thin Layers of Builder Gel
The secret to using builder gel is to use thin layers to build it up gradually. Applying too much gel at once is a standard error made by beginners, which can lead to an uneven or heavy finish. Better control is made possible by thin, even layers, which also guarantee that the gel cures correctly under the lamp. Here’s how you should apply thin layers.
- First Coating: To prevent oversaturating the cuticle, apply a thin, uniform coating to the whole nail using a delicate touch.
- Second Coat: Apply a somewhat thicker second coat to construct the nail’s structure and apex after the first layer has dried. This layer is essential for durability and strength.
- Third Layer (Optional): If necessary, add a third layer to strengthen or fine-tune the form.
Bottomline
The key to being an expert at applying builder gel is paying close attention to details, using the appropriate tools, and using the correct method. You can achieve long-lasting, immaculate nails by using these professional techniques.
With practice, you’ll consistently produce outstanding outcomes in addition to honing your talents.
Are you prepared to step up your nail art?
Start using these suggestions in your daily practice, and you’ll see your builder gel treatments become salon-quality masterpieces! Have fun creating your nails!


